How to Start Seeds Indoors
Do you remember what happened last spring? To the horror of many wanna-be-gardeners, the shelves at the majority of your favourite greenhouses and home improvement stores were empty! Not one herb or tomato plant could be found. And most of the plants and flowers that were left had brown, spindly leaves that appeared to be ready for the compost!

Starting seeds indoors is one way to guarantee that you can plant your favourite vegetables or flowers this season. There are many other reasons to grow your own seeds indoors, such as:
- You’ll save money on buying plants in the spring.
- You’re not limited by what you can find in the store.
- There’s a large selection of seeds available to choose from.
- You can plant seeds based on Edmonton’s climate zone for gardening (Edmonton is zone 3b).
- Tending seedlings is a fun hobby during the long, cold winter.
- It’s an activity to do with the kids!
Starting flower or vegetable seeds indoors might seem like a lot of work, but it's actually quite easy and enjoyable.
Here’s a step-by-step guide on how to start seeds indoors:
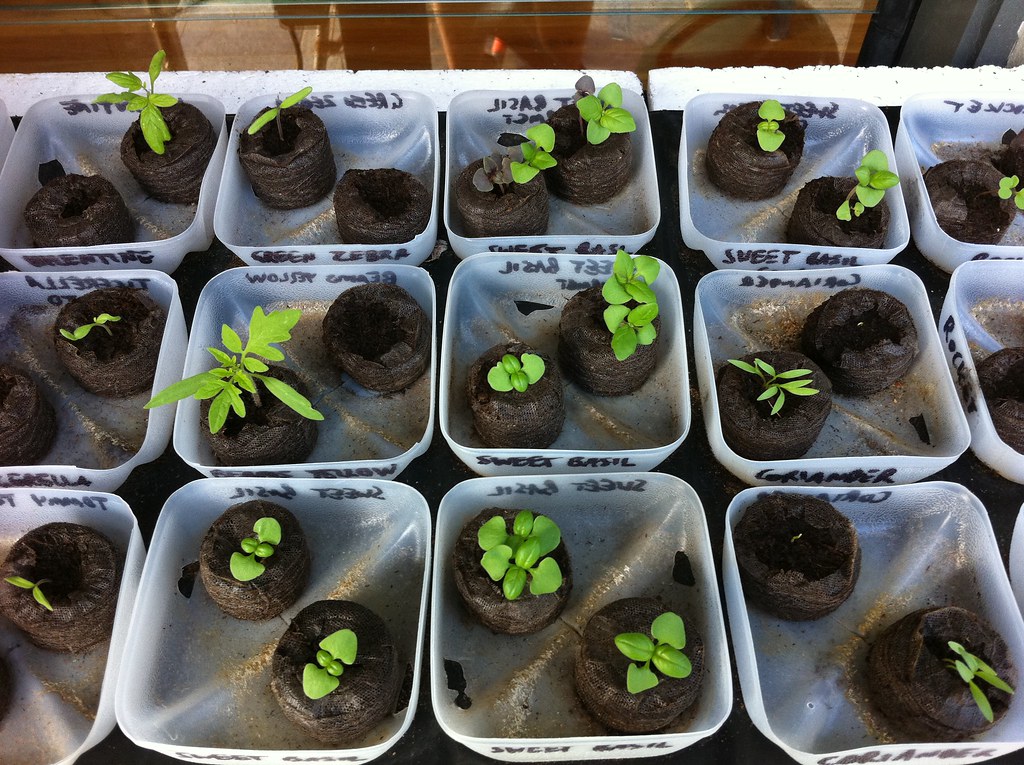
- Get seed-starting mix that drains well and stays moist. It’s important not to use just any soil from your garden as it can contain diseases. (There are kits with trays of coir pellets that will take the guess work out of finding the right mix.)
- Gather pots or receptacles like solo cups, milk cartons or other recycled items to plant seeds. Ensure pots or receptacles have proper drainage by poking holes in the bottom if necessary.
- Read the instructions on the back of the seed packet to see how long seeds will take to germinate and plant them accordingly.
- Sprinkle 2-3 seeds per pot at the proper depth based on the instructions and mist with water so that the mix is moist.
- Keep your seeds in a warm spot away from drafty windows. Use a heat mat or place them on top of your refrigerator. Seeds will germinate faster in warmer temperatures.
- Do not over water as this can cause seeds to get moldy. Keep the mix moist (not wet) by using a misting bottle.
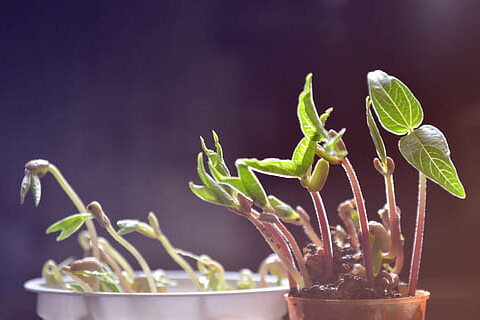
- Check seeds for sprouting daily!
- Once seedlings emerge, move them to a bright, sunny spot. While grow lights are not necessary, they will give you even, consistent light for optimal growth.
- Ensure that seedlings don’t get overheated. A cool environment will produce stronger seedlings.
- Fertilize seedlings once they have one or two sets of leaves.
- Thin seedlings down to only one per pot. Choose the strongest looking seedling.
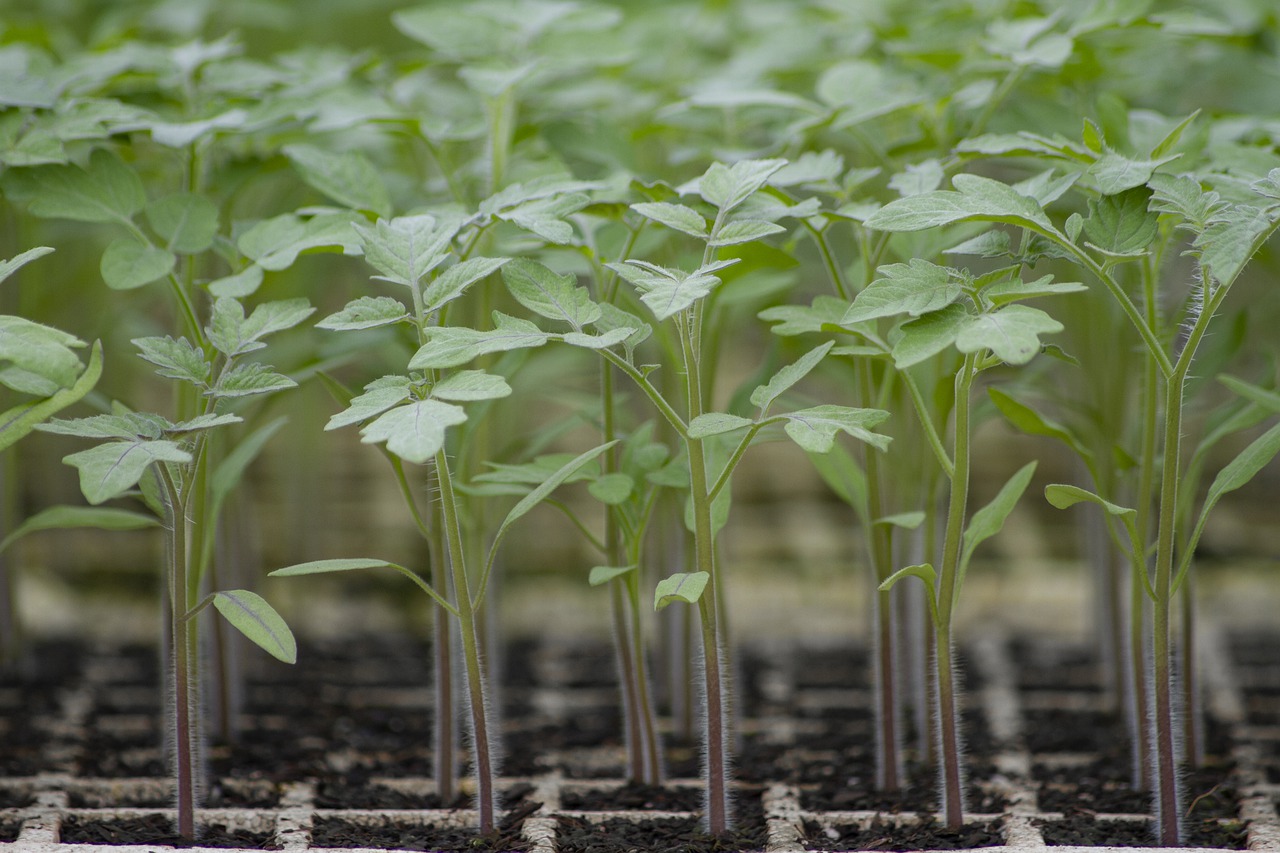
- Once seedlings have grown larger and stronger, they’re ready to be transplanted into a larger pot with potting soil.
- Start to harden seedlings by putting them outside for a few hours per day, increasing the duration of time spent outside until they’re ready to be left outdoors overnight.
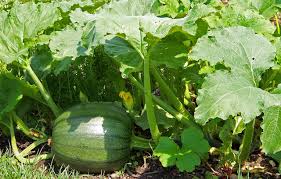
- It’s finally time to plant the seedlings in the garden! Prepare the soil so that it’s rich with nutrients and moist. Once the seedlings are in the soil, give them plenty of water immediately after and in the days following. Add mulch to protect the roots and help retain moisture in the soil.
- The last step: Enjoy your garden!
Rockland supplies premium garden soil mix, mulch, fertilizer and compost to help your garden thrive. If you start your own garden indoors, share a picture with us on Facebook or Instagram!
To stay up to date on offers and what's new at Rockland, sign up for our newsletter.